After a long winter in storage, it’s time to prepare your camper for the warmer months and the adventures that lie ahead. De-winterizing your camper is an essential process to ensure it’s ready for use and in optimal condition.

Here’s a guide on how to de-winterize your camper step by step.
Step 1: Inspect and clean the exterior: Begin by checking the exterior of your camper for any damage that may have occurred during storage. Clean the exterior surfaces to remove dirt, dust, and debris.
Step 2: Check the tires: Inspect your camper’s tires for any signs of wear or damage, and inflate them to the recommended pressure levels.
Step 3: Charge and reconnect the battery: If you removed the battery for storage, ensure it’s fully charged and then reconnect it, following the manufacturer’s guidelines.
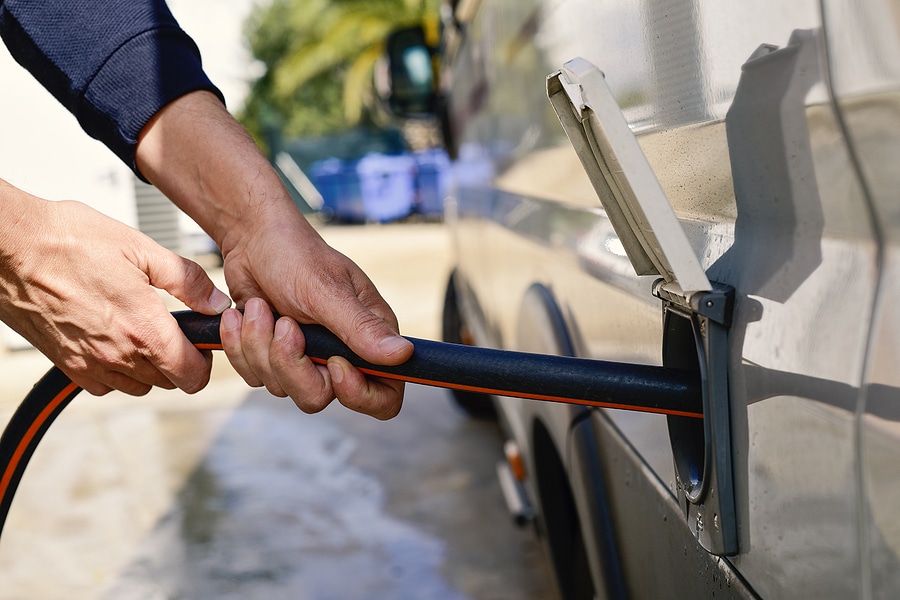
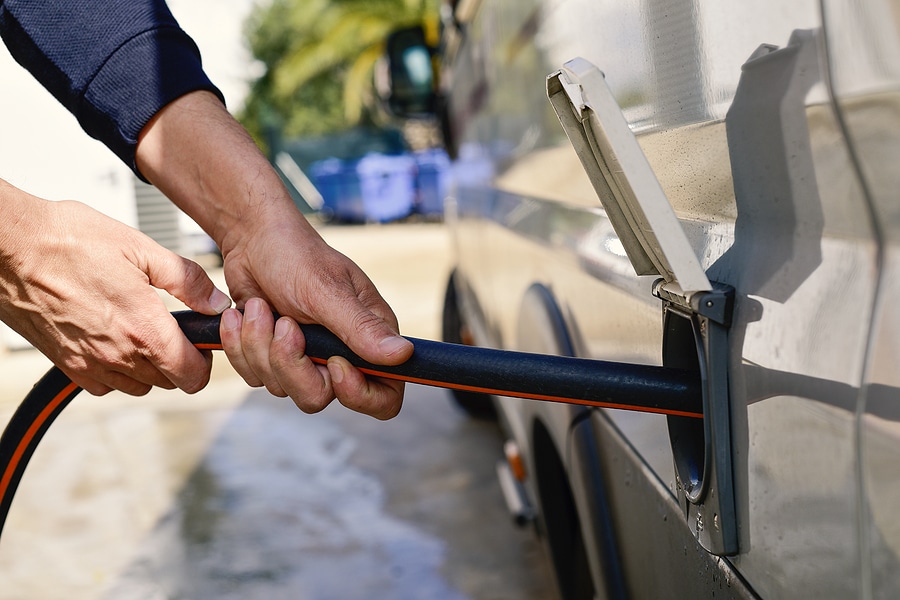
Step 4: Flush the water system: If you used RV antifreeze during the winterization process, start by filling the water tank about ⅓ full of water. This will help with pressurizing your water pump and checking for leaks.
- Locate the water pump, turn it on to listen for the sound, and change the valve so that it redirects the flow from the tank to the water pump instead of the winterized hose.
- After securing the hose to the pump, turn on the water pump until it is pressurized. When it’s completely pressurized, it will stop making noise.
- Run each water fixture inside the unit to completely rinse leftover antifreeze. This includes the kitchen sink, bathroom sink, shower, and the toilet.
For more guidance on this step, watch our video on How to De-Winterize Your Camper here.
Step 5: Empty the antifreeze from the low point drain located under the unit. Empty both the cold and hot valves until they are completely clear.
Step 6: Refill the water heater: Close the drain valve on your water heater and make sure the bypass valve is open. Turn on the water supply and allow the water heater to fill completely.
Step 7: Sanitize the freshwater system: Fill the freshwater tank with a mixture of water and a sanitizing solution (typically 1/4 cup of bleach for every 15 gallons of water) or use a fresh water tank sanitizer. Run the sanitizing solution through all faucets and fixtures, then let it sit for at least four hours or overnight. Drain the system and flush it with fresh water until the smell of bleach is gone.
Step 8: Inspect and test the propane system: Check for any visible damage to the propane lines and tanks. Turn on the propane supply and test all appliances to ensure they’re functioning correctly. If you smell gas or suspect a leak, turn off the propane and contact a professional.
Step 9: Test electrical systems and appliances: Check your camper’s electrical systems, including the lights, outlets, and appliances, to ensure they’re functioning correctly.
Step 10: Check and replace necessary filters: Inspect the air and water filters in your camper, and replace them if necessary.
Step 11: Restock your camper: Replenish any supplies that may have been removed during winterization, such as bedding, cookware, and toiletries
De-winterizing your camper is an essential process to ensure a safe and enjoyable camping season. By following these steps and regularly maintaining your camper, you’ll be well-prepared for your next adventure.
Always consult your camper’s owner’s manual for specific guidelines and recommendations. Happy camping!


